This is the first time I've had a sale in my 1000 Markets store, and I don't know when there'll ever be another one, so check it out NOW!
http://capecodjewel.com
I've recently added new items, and marked others down, so you'll save even more today.
Pay with PayPal to get your 50% refund of your purchase. :)
I'll also refund 50% of any "jewelry items only" from my Etsy Store.
http://capecodjewel.etsy.com
Again, use PayPal to get your 50% refunded.
Sale ends TODAY, April 30th 2009 at Midnight EST
Linda :)
capecodjewel.etsy.com
capecodjewel.com
lotsofsamples.com
Thursday, April 30, 2009
Monday, April 27, 2009
Monday, April 20, 2009
How To - Dicrotic Look with Glue & Glitter
This is for Pinka, one of my UWIB buddies! She was wondering how to make glass pieces look dicrotic without having to spend a lot of money on a kiln. So I did a little experimenting, with little clear glass dots and some items I had lying around my crafting desk. :)
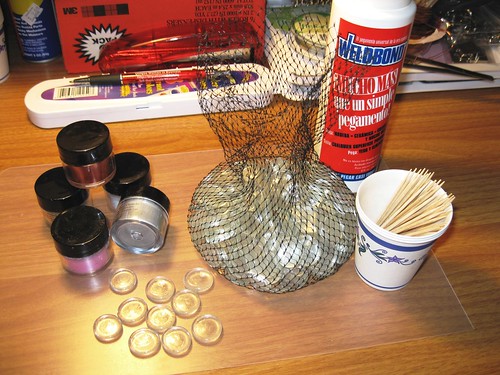
Start with some clear glass tiles or cabs, clear-drying glue, powdered glitter and toothpics.
Wipe off your glass pieces with a lint-free cloth or towel and water or rubbing alcohol to make sure they're clean.
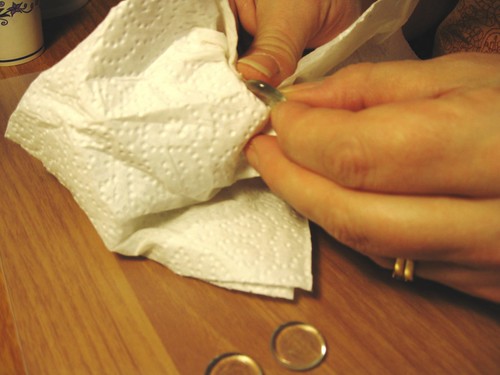
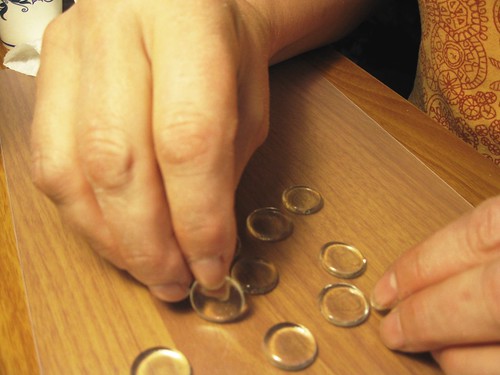
These pieces have a smooth and a slightly rough side... I'm turning them all over to have the rough side on top. The glue should adhear better on the rough side, and will look better viewing the finished product through the smooth side.
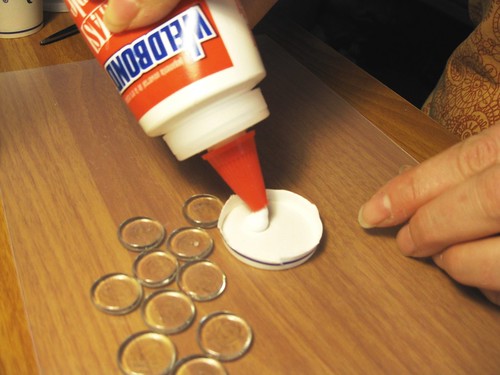
Squeeze out a nice blob of glue... I'm using the bottom of a paper cup to keep it contained and it will be thrown away when we're done with it.
With a toothpick, scoop out just a tiny bit of your powdered glitter... a little goes a long way!
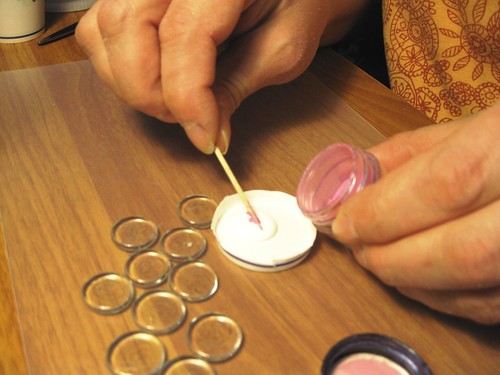
Mix it in!
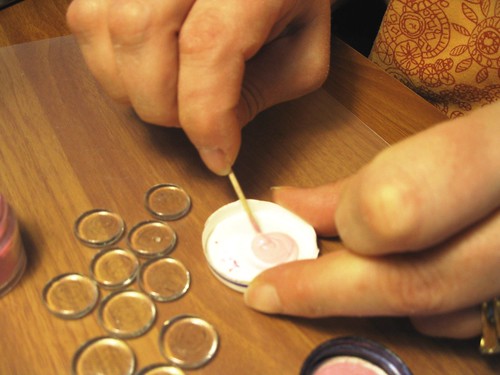
I'm going to mix-up a second color to go with the first, you don't have to if you don't like.
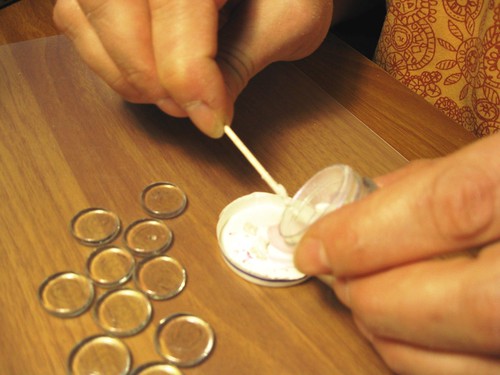
Mixing in the second color next to the first (keeping them separate).

Now for the fun part... scoop up your colored glue, and dab, swirl and blop onto the top of the glass.
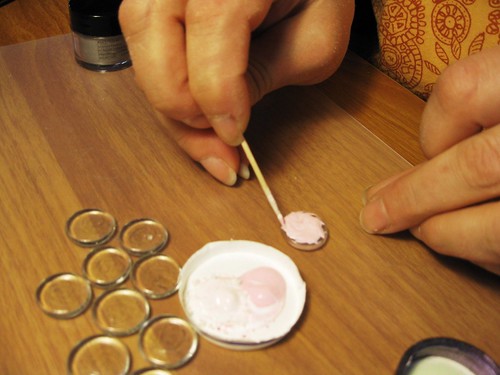
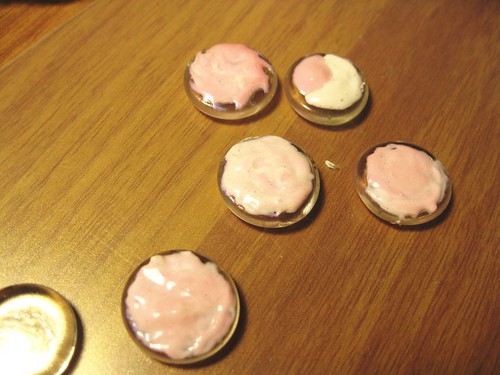
Here, I've done 5 pieces, each one a little different to see different effects. Now, you're going to set those aside to dry.
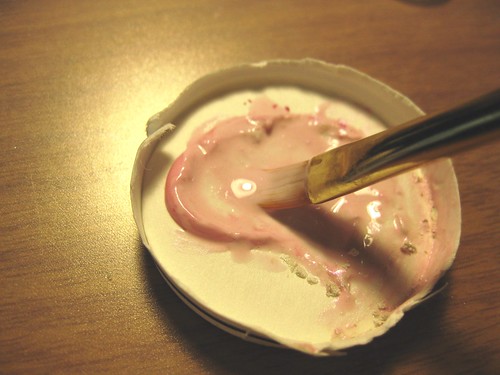
Now, I've decided to add a little water to my colored glue with a paintbrush...
... dabbing the thinned glue onto the glass pieces...
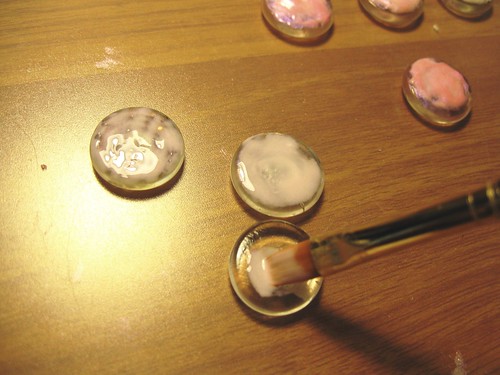
... as so!

Set them aside with the others to dry. :)

I think I'll try for a different look. :) You'll need a piece of printed paper... I'm using some printed cardstock, but you could try anything you'd like.
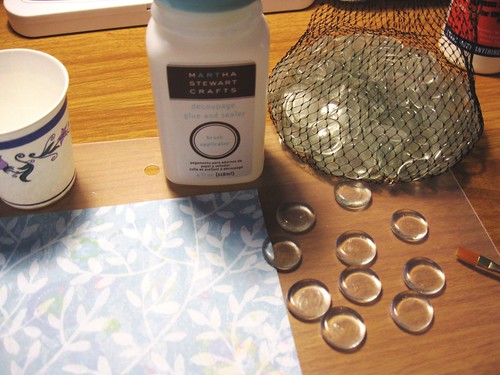
I'm also using a thinner glue this time, or you could water the thicker glue down a little instead. Add some glue to a small paper cup.
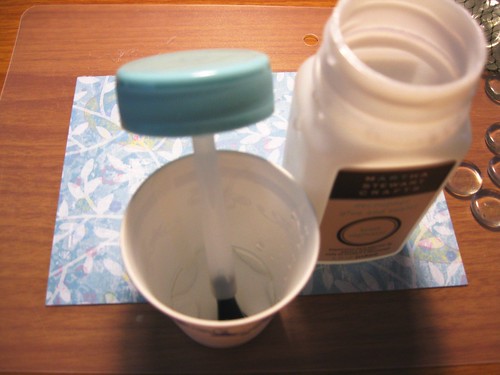
Add a little glitter...

... and mix it up!
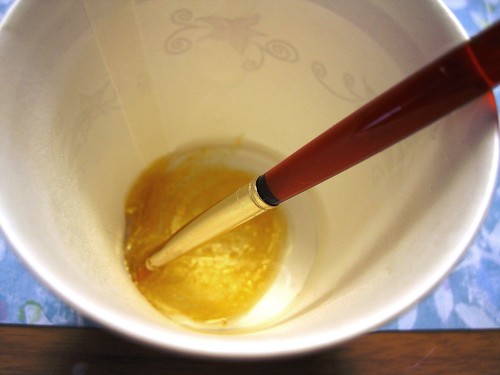
Blop, swirl and dab your glue and glitter mixture onto your paper or cardstock.
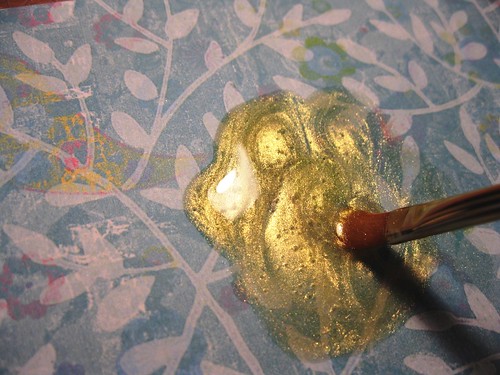
Pop your glass pieces down on the wet mixture, rough side down (if you're using that kind of glass), making sure to keep the pieces far enough apart, so you can cut them apart when dry. Now, set them aside to let them get nice and dry.
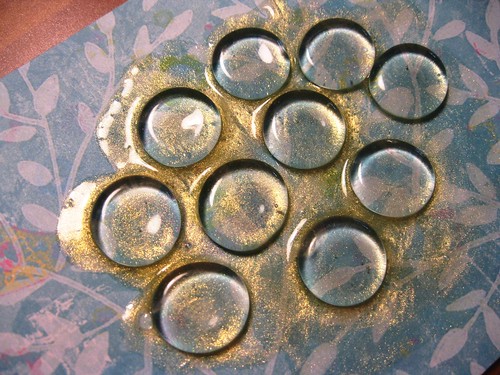
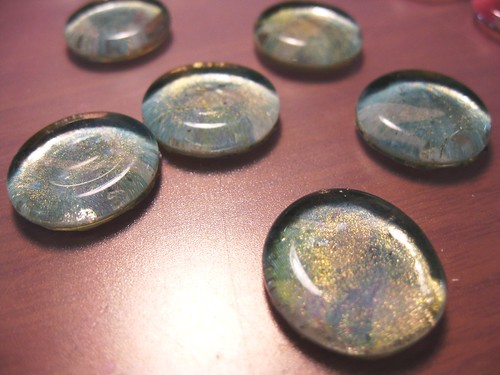
LOOK WHAT WE ENDED UP WITH!!! We have some really cool pieces of glass with that lovely dicrotic look, without a kiln!
See the pieces glued to the cardstock... just cut them apart and cut around the glass with a pair of scissors... couldn't be easier!


These are the pieces I had glued to cardstock... and they came out beautiful!
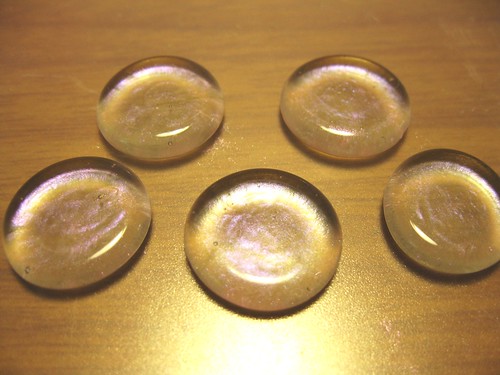
These are the pieces I dabbed with the watered-down colored glue... they're still clear with a shimmery effect.
And, LOOK AT THESE! These are the pieces with the thick clear-drying glue in two colors, that I blobbed and swirled... awesome!
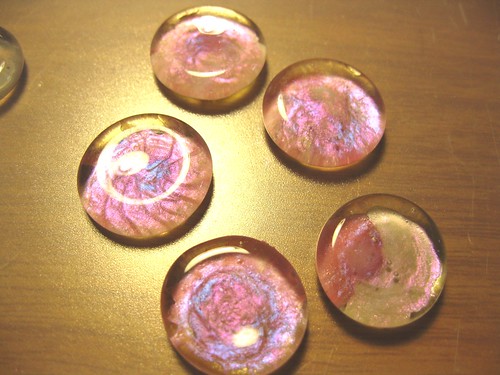
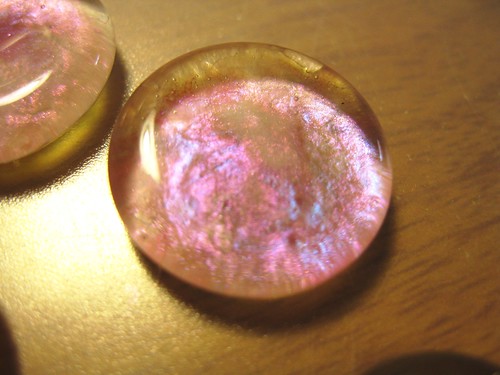

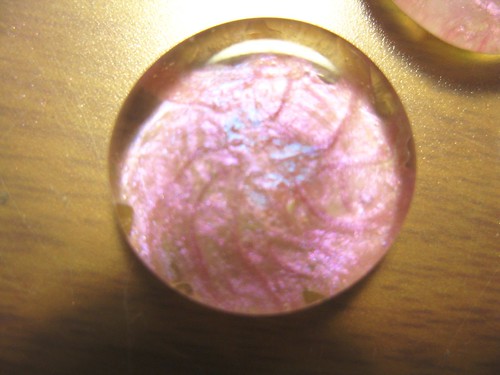

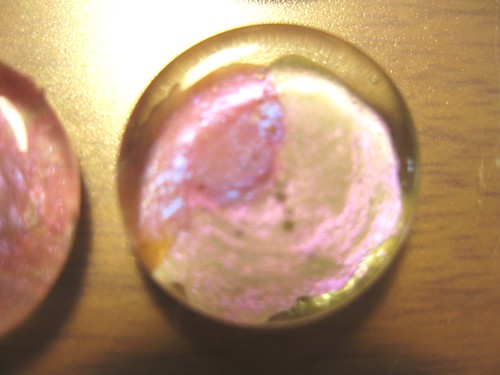
Pretty cool for an afternoon experiment. :)
To finish these, I'll spray them with an acrylic sealer... then they'll be ready to add bails/magnets/button backs or any other findings or projects you want to add them to. :) Note that they will be water resistant - not water proof. If you want to make them water proof, seal them with resin or varnish.
If you would like to see a few more pics, go to my Flickr
If you'd like to see what my friend Pinka is up to, you can find out here:
Pinka's blog
Pinka's Etsy Store
Linda :)
Cape Cod Jewels & Things
Cape Cod Jewel's Originals
The Sample Bag!
Unique Women In Business
Wednesday, April 01, 2009
Subscribe to:
Comments (Atom)

